Have you ever wondered how to grow microgreens at home? These tiny, vibrant greens are not only a delight to the eyes but also a powerhouse of nutrition, making them a perfect addition to your kitchen. Whether you’re a gardening newbie or a seasoned green thumb, growing microgreens at home is simple, affordable, and incredibly rewarding. Plus, with the rising popularity of microgreens, you might even consider turning this hobby into a thriving microgreens business. In this guide, we’ll walk you through everything you need to know—from selecting microgreens seeds to harvesting your first batch—while sprinkling in tips for success and even exploring the potential of a microgreens business.
What Are Microgreens?
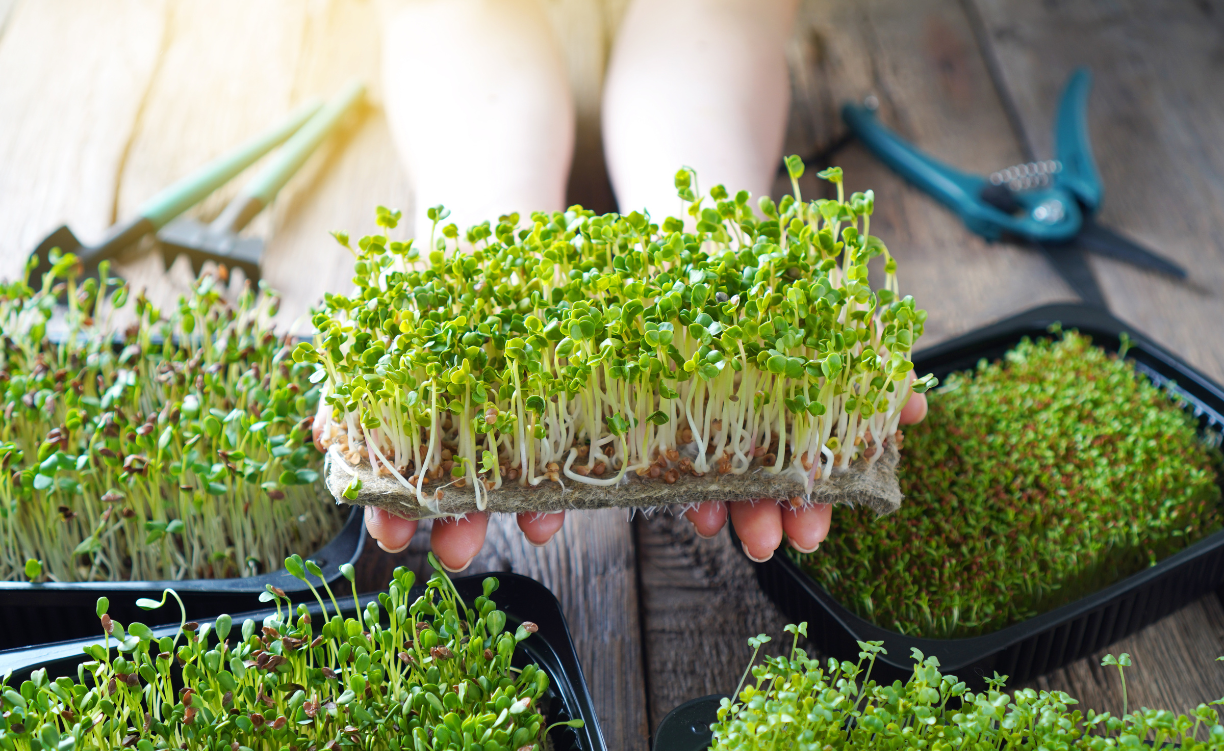
Before diving into how to grow microgreens at home, let’s clarify what microgreens are. Microgreens are young, edible plants harvested just after their first leaves (called cotyledons) emerge, typically within 7-21 days of planting. Unlike sprouts, which are grown in water and eaten whole, microgreens are cultivated in soil or other mediums and snipped above the root. They come in various types of microgreens, such as broccoli, radish, pea shoots, and sunflower, each offering unique flavors and microgreens benefits like high levels of vitamins, antioxidants, and minerals.
Why Grow Microgreens at Home?
Growing microgreens at home is a game-changer for several reasons. First, they’re packed with nutrients—studies show they can contain up to 40 times more vitamins and antioxidants than their mature counterparts. Second, they’re incredibly easy to grow, requiring minimal space and equipment. You don’t need a sprawl ing garden; a sunny windowsill will do! Finally, with microgreens prices per kg often ranging from $20 to $50 in markets, growing your own saves money while ensuring freshness. Plus, if you’re entrepreneurial, this could be the seed for a microgreens business in India or beyond.
Step-by-Step Guide: How to Grow Microgreens at Home
Ready to get started? Here’s a foolproof guide to growing microgreens at home that’s beginner-friendly and optimized for success.
1. Gather Your Supplies
To grow microgreens at home, you’ll need:
- Microgreens seeds: Popular options include broccoli microgreens, radish, kale, or pea shoots. Check a microgreens seeds list online for variety.
- Trays: Use shallow trays with drainage holes (and a solid tray underneath to catch water).
- Growing medium: Soil, coconut coir, or hemp mats work well.
- Watering can or spray bottle: For gentle watering.
- Light source: A sunny spot or grow lights if indoors.
These items are affordable and widely available, making microgreens farming accessible to everyone.
2. Choose Your Microgreens Types
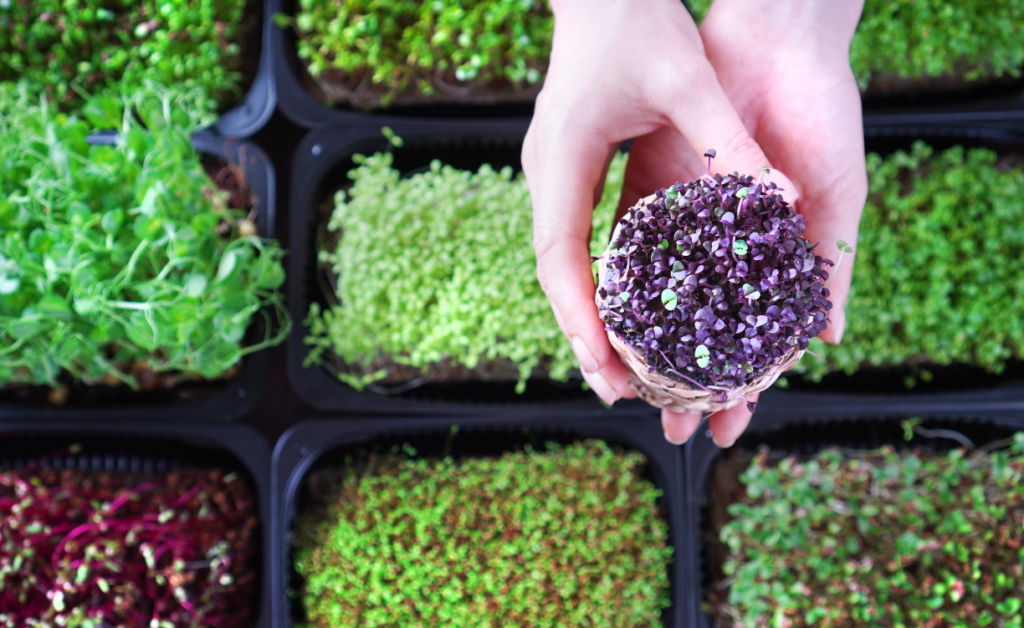
Not sure which microgreens to grow? Here are some popular types of microgreens:
- Broccoli microgreens: Nutty and rich in vitamins A, C, and E.
- Radish: Spicy and quick-growing, ready in 7-10 days.
- Sunflower: Crunchy with a mild, nutty taste.
- Pea shoots: Sweet and tender, perfect for salads.
Each type offers distinct microgreens benefits, so experiment to find your favorites.
3. Prepare the Trays
Fill your tray with about 1-2 inches of moist soil or your chosen medium. Flatten it gently but don’t pack it too tight—microgreens need room to breathe. This step sets the foundation for healthy growth, whether you’re growing microgreens at home or scaling up for a microgreens business.
4. Sow the Seeds
Sprinkle your microgreens seeds evenly across the surface. Aim for a dense but not overcrowded layer—about 10-12 seeds per square inch for small seeds like broccoli microgreens, or 6-8 for larger ones like sunflowers. Press them lightly into the soil for good contact.
5. Cover and Germinate
Cover the tray with another tray or a damp cloth to keep it dark and humid. This mimics nature’s germination process. Place it in a warm spot (65-75°F) for 2-4 days until you see tiny sprouts. This blackout period is key to how to grow microgreens at home successfully.
6. Provide Light
Once sprouted, remove the cover and move the tray to a bright location. A windowsill with 4-6 hours of indirect sunlight works, or use grow lights for 12-16 hours daily. Light helps microgreens develop their vibrant colors and nutrients.
7. Water Regularly
Keep the soil moist but not soggy. Use a spray bottle to mist the surface or water from the bottom by placing the tray in a shallow water bath for a few minutes. Overwatering is one of the few disadvantages of microgreens, as it can lead to mold.
8. Harvest Your Microgreens
In 7-21 days (depending on the type), your microgreens will be 1-3 inches tall with their first true leaves. Snip them just above the soil line with scissors. Rinse gently and enjoy! Broccoli microgreens, for example, are ready in about 8-12 days, while pea shoots might take a bit longer.
Microgreens Benefits: Why They’re Worth Growing

The effort to grow microgreens at home pays off in more ways than one. These tiny greens are nutritional dynamos, offering:
- High nutrient density: Packed with vitamins, minerals, and antioxidants.
- Flavor boost: They add a fresh, intense taste to salads, sandwiches, and soups.
- Sustainability: Minimal water and space make them eco-friendly.
For instance, broccoli microgreens are known for their sulforaphane content, which may support heart health and reduce inflammation. It’s no wonder they’re a favorite among health enthusiasts and microgreens farming advocates like Ajay Gopinath, a notable figure in the microgreens community.
Turning Your Hobby into a Microgreens Business
Love growing microgreens at home? Why not explore a microgreens business? The demand for fresh, local microgreens is soaring, especially in places like India, where health-conscious consumers are willing to pay a premium. Here’s how to get started:
1. Research the Market
Look into microgreens business in India or your local area. Restaurants, cafes, and health food stores are prime customers. Check microgreens prices per kg to set competitive rates.
2. Create a Microgreens Business Plan
Draft a simple microgreens business plan (or find a microgreens business plan PDF online). Include costs (seeds, trays, lights), target customers, and pricing. A microgreens business plan in India PDF might also factor in local climate and demand.
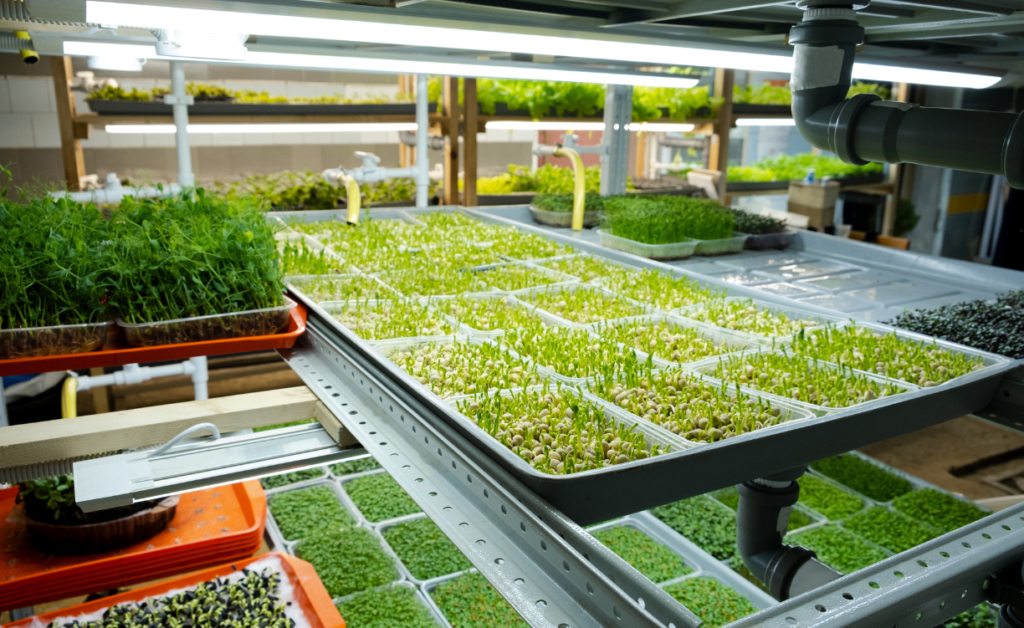
3. Scale Up Production
Invest in more trays and grow lights to increase yield. Experiment with types of microgreens to offer variety—chefs love unique options like basil or beet microgreens.
4. Market Your Greens
Sell at farmers’ markets, online, or directly to businesses. Highlight the freshness and microgreens benefits to attract buyers.
A microgreens business can be profitable with low startup costs—some growers report earning $500-$1,000 monthly from small setups!
Common Challenges and Disadvantages of Microgreens
While growing microgreens at home is straightforward, there are a few hurdles:
- Mold growth: Overwatering or poor airflow can cause mold. Use fans or space trays apart.
- Short shelf life: Microgreens last 10-14 days in the fridge, so harvest only what you need.
- Initial cost: Seeds and trays require a small upfront investment, though they’re reusable.
These disadvantages of microgreens are minor compared to the rewards, especially with proper care.
FAQ: Your Microgreens Questions Answered
Q: What are the easiest microgreens to grow at home?
A: Broccoli microgreens, radish, and pea shoots are beginner-friendly due to their fast growth and simple needs.
Q: Can I start a microgreens business with no experience?
A: Yes! Start small at home, master how to grow microgreens, and scale up as you learn. A microgreens business plan can guide you.
Conclusion: Start Growing Today!
Learning how to grow microgreens at home is a fun, affordable way to enjoy fresh, nutrient-rich greens year-round. With just a few supplies and a little patience, you’ll be harvesting your own microgreens in no time. Whether you’re savoring them in a salad or dreaming of a microgreens business, these tiny plants offer big possibilities. So, grab some microgreens seeds, set up your trays, and watch your indoor garden thrive. Have questions or tips? Drop them in the comments—I’d love to hear your microgreens journey!